Start with the Ultra preset and DLSS or FSR on Quality. If the image looks noisy, raise RT Shadows and RT Reflections to Ludicrous and turn off Variable Rate Shading. On NVIDIA cards, forcing DLSS preset K through the driver and using Performance mode can then give better image quality and a higher frame rate than where you started. Avoid the full Ludicrous preset — it costs about 40% performance versus Ultra.
Recommended settings by hardware
| Your PC | Preset | Upscaling | Extra tweaks |
|---|---|---|---|
| High-end GPU | Ultra | DLSS / FSR Quality | RT Shadows + RT Reflections on Ludicrous, VRS off |
| NVIDIA, chasing FPS | Ultra | DLSS Performance, preset K via driver | Same noise tweaks as above |
| Mid-range / budget | Medium to High | Quality or Balanced | Lumen GI on Medium, shadows on High |
The gap between the lowest and highest presets is smaller than in many games. Even at minimum settings, the game keeps its overall look, so dropping a preset is a safe way to gain frames. Use the built-in benchmark mode to compare changes.
How to fix ray tracing noise
E-Day uses ray-traced lighting heavily, and like many Unreal Engine 5 games it can show noise. Hardware Unboxed traced most of it to two settings. Ray-traced shadows below Ludicrous introduce shadow noise, and the reflection setting causes the rest.
- Set RT Shadows to Ludicrous.
- Set RT Reflections to Ludicrous.
- Turn off Variable Rate Shading, which is on by default in every preset.
These three changes clean up the image noticeably, but they cost frames. The next section shows how to win those frames back. DLSS Ray Reconstruction and FSR Ray Regeneration are not supported, so you cannot rely on them for denoising.
A tested example: better image, more FPS
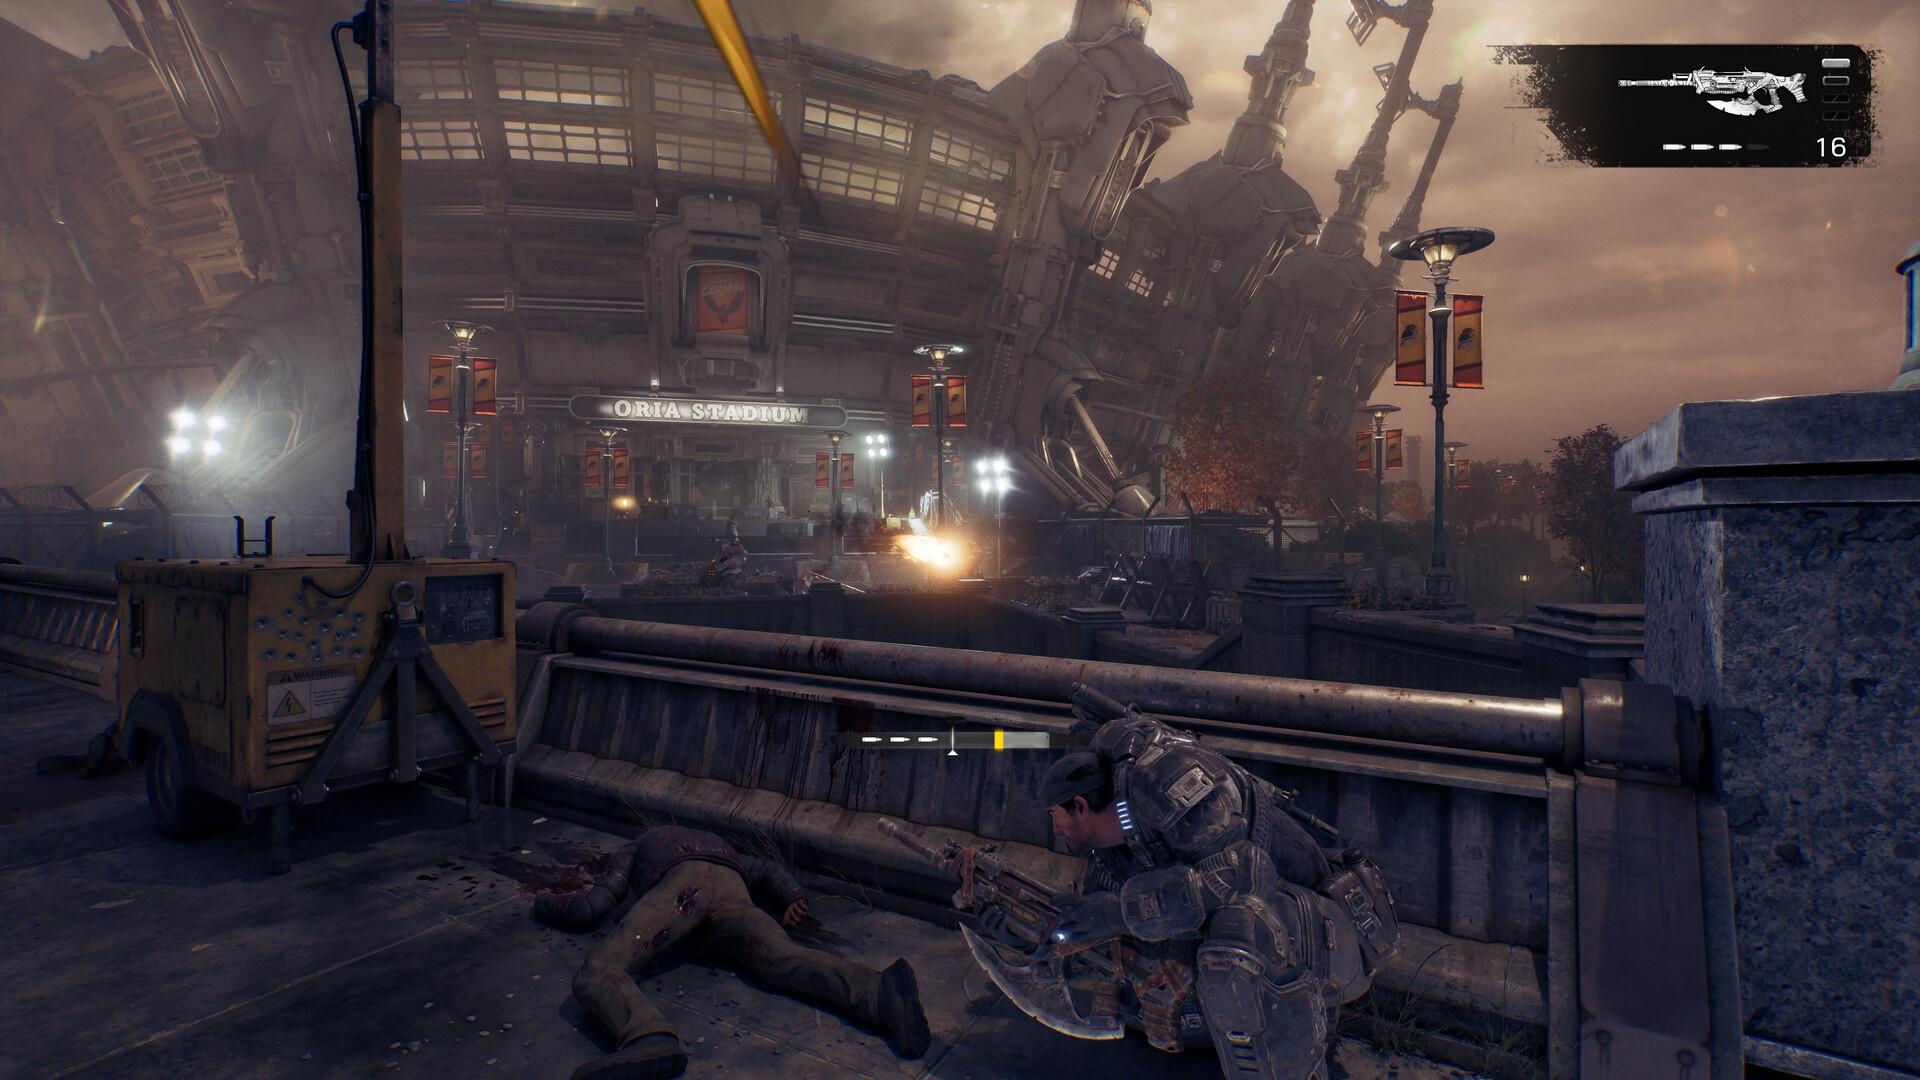
Hardware Unboxed walked through the process in one location on an RTX 5060 Ti. Each step below shows the frame rate after the change. The end result was a cleaner image at a slightly higher frame rate than the starting point. It is a useful reminder that the highest preset is not automatically the best-looking choice in this game.
| Step | FPS |
|---|---|
| Ultra preset, DLSS Quality | 107 |
| + RT Shadows on Ludicrous | 90 |
| + RT Reflections on Ludicrous | 86 |
| Upscaling to Balanced | 98 |
| Variable Rate Shading off | (noise reduced) |
| DLSS Performance with preset K | 110 |
The key is the last step. DLSS preset K in Performance mode recovered all the lost frames while keeping the cleaner shadows and reflections. Your numbers will differ, but the order of changes is a good template.
Which DLSS preset to use
Hardware Unboxed found that the newer DLSS 4.5 presets L and M actually increase noise in shadows and reflections compared with the older DLSS 4.0 preset K. For Performance-mode upscaling, it recommends forcing preset K in the NVIDIA driver. That is the noise-first approach.
Kephren's guide takes a sharpness-first approach instead. It suggests preset K for RTX 20 and 30-series cards, preset M for RTX 40 and 50-series at 1080p (with L judged too sharp there), and preset L for mid-to-high-end cards at 1440p and 4K. Try both and keep the one you prefer.
Is the Ludicrous preset worth it?
Ludicrous sits above Ultra and is the highest preset. On an RTX 5060 Ti 16 GB at 1440p, it reduced performance by about 40% compared with Ultra. Unless you have a very powerful PC, it is not worth using as a whole preset.
Instead, use Ludicrous selectively on the two noise-related settings above. That gets you most of the visual benefit for a fraction of the cost. RTX Mega Geometry is best treated the same way: a premium extra for systems already running maximum settings.
Settings with the biggest performance impact
- Resolution and upscaling: keep your monitor's native resolution and use DLSS 4.5, FSR 4 or XeSS 3.0 on Quality or Balanced.
- Shadows: dropping from Ludicrous or Ultra to High gains roughly 10–15% FPS.
- Lumen global illumination: use Medium rather than Low; Low saves little but looks noticeably worse.
- Reflections, volumetrics and ray tracing: expensive, so lower these first on weaker GPUs.
- Frame Generation: tied to your GPU brand — DLSS FG on NVIDIA, FSR FG on AMD, XeSS FG on Intel.
Multi Frame Generation is available on supported RTX 50-series hardware, up to six times, along with NVIDIA Reflex. In NVIDIA's sponsored showcase, an RTX 4090 at 4K max settings with DLSS Quality ran at around 75 FPS before frame generation.
Windows and driver tweaks
- Update your GPU driver; NVIDIA has an E-Day-optimised release.
- Close background programs and disable Xbox Game Bar capture, which can cause stutter.
- Turn on Game Mode, hardware-accelerated GPU scheduling and VRR in Windows.
- Enable Resizable BAR in the BIOS and NVIDIA control panel to reduce micro-stutter.
- In the NVIDIA control panel, set Low Latency Mode to Ultra and raise the shader cache from 5 GB to 10 GB or more.
- With G-Sync, enable V-Sync in the driver, disable it in game, and stay within the G-Sync range.
Settings for lower-end PCs
On minimum-spec hardware, start from Medium with upscaling on Quality or Balanced. On an RTX 3060 with a Ryzen 5 5600X in the beta, Medium at 1080p averaged about 45 FPS natively and around 60 FPS with DLSS Quality. The game's default dynamic resolution also aims for 60 FPS automatically.
Keep Lumen global illumination on Medium rather than Low, since the lighting difference is obvious and the saving is small. Lower shadows, reflections and volumetrics before touching textures if you have enough VRAM. Frame Generation can smooth things out further on supported cards. After each change, run the built-in benchmark again so you are comparing like with like, rather than judging by feel in different scenes.
Ultrawide, HDR and other options
Ultrawide is supported at 21:9 and 32:9 in gameplay and menus. A Cinematic Ultrawide Support toggle removes the black bars in cutscenes and is on by default at 21:9 / 3440x1440. Borderless, exclusive fullscreen and windowed modes are all available.
HDR10 is supported, with defaults of Min Nits -5.0, Mid Point -7.0, Max Nits 1400 and UI Brightness 1.50. Adjust Max Nits to match your display's peak brightness. To skip the startup logos, delete Bootflow_Logos.bk2 from the Content\FairlightConcept\Content\Movies folder — you will need to repeat this after each update.
Hardware not up to it at all? Check our system requirements. Crashing instead of stuttering? See crash fixes.
Sources
References used for this page. Figures were checked on October 6, 2026.
- Hardware Unboxed — Optimization, Noise Fix, Best Settings (YouTube)
- Kephren — Max FPS & Visibility PC Guide (YouTube)
- Yahoo Tech — Best graphics settings
- Sage Tweaks — Best settings for high FPS
- PCGamingWiki — Gears of War: E-Day
- Steam — Gears of War: E-Day
- Daniel Owen — PC Requirements Analysis (YouTube)